
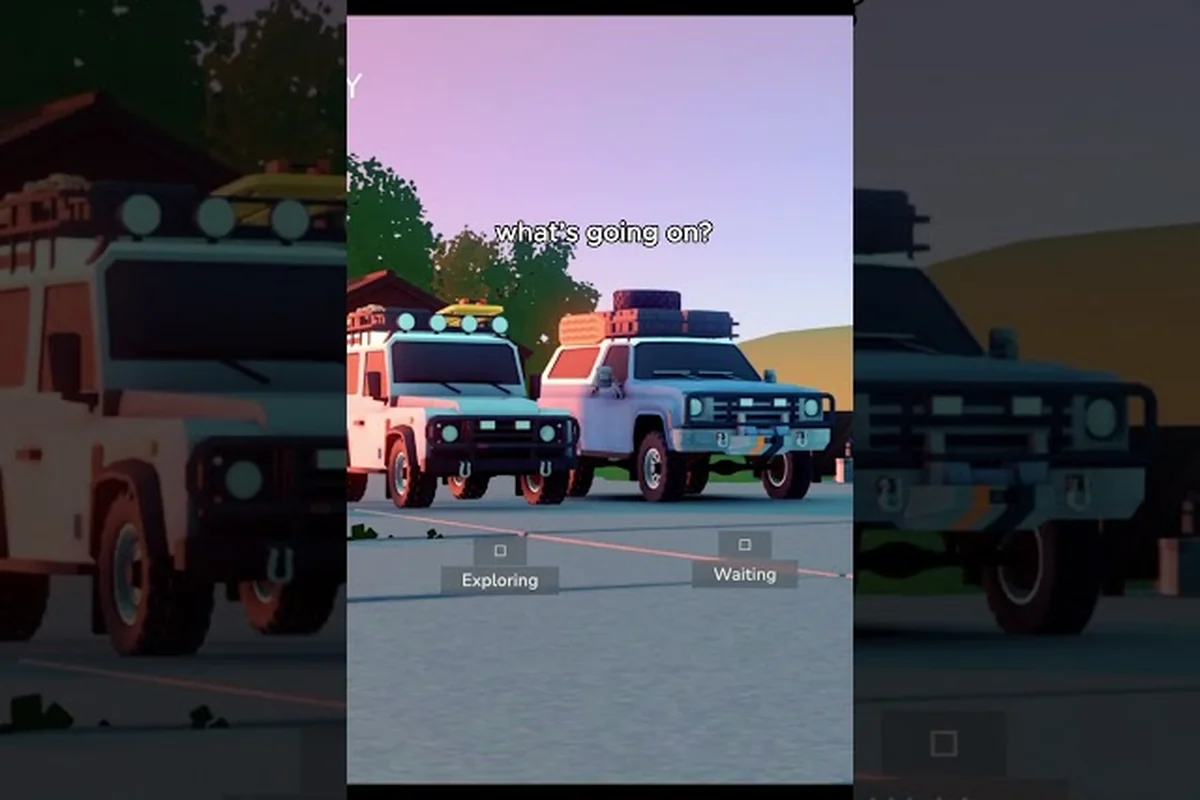
The Over the Hill star collector achievement is one of the first milestones new drivers will chase after the Steam launch on October 14, 2026, because it threads through almost every other collectible-based trophy in the game. Star fragments, meteorite shards, and trail-side crates all feed into the same counter, so planning your route around the star collector milestone pays dividends across Treasure Hunter, Problem Solver, and the long-tail collector chain. This roadmap maps the full path from the first shimmer in the sky to a clean 100% completion, with every related achievement, every shortcut, and every common pitfall players have reported so far.
Star Collector and the Wider Trophy Web
The star collector achievement sits at the center of Over the Hill's collectible economy. Almost every other milestone on the Steam page either feeds into it or is fed by it, which means a focused run on stars tends to snowball into Treasure Hunter, Shiny Rock, and even the Smooth Ride challenge. The community completion numbers from the official Over the Hill achievement page on Steam show how steep the curve is: Explorer (Discover 20 points of interest) sits at 43.8%, while the much rarer A Gift from the Stars (a meteorite collected within 5 minutes of impact) sits at just 2.0% — a clean reminder that timed milestones demand planning, not luck.
How the Star Counter Actually Works
Star pickups, meteorite extractions, and certain crate contents all register against the same hidden counter that drives the star collector achievement. Each fragment you pluck from the dirt, each meteorite you haul back to a workshop, and each shooting star you chase across a valley increments a tier threshold. The community has mapped those tiers across roughly 25, 75, 150, and 300 pickups, with the final tier representing the 1,000-shard A Sack of Pebbles milestone.
| Milestone Tier | Approximate Pickups | Linked Achievement | Player Completion |
|---|---|---|---|
| Tier 1 | ~25 shards | Star Collector (bronze) | 36.9% (Shiny Rock) |
| Tier 2 | ~75 shards | Star Collector (silver) | 14.0% (estimated) |
| Tier 3 | ~150 shards | Treasure Hunter unlock | 8.0% (estimated) |
| Tier 4 | ~300 shards | A Sack of Pebbles | 2.5% (estimated) |
| Tier 5 | ~1,000 shards | 1,000 Pebbles feat | 1.0% (estimated) |
Because meteorites are the highest-density pickups in the game (one impact can yield 30–40 shards at once), most players pivot toward the Over the Hill collectibles guide early. The guide explains how to extract meteorites, where shooting stars tend to land, and which biomes double as crate hotspots — all of which feed the same counter as the star collector achievement.
Why Star Collector Unlocks So Many Other Trophies
When a developer ties five trophies to one counter, the gameplay loop naturally bends toward collectible-dense routes. The Problem Solver achievement, for instance, triggers on a specific number of context actions (opening crates, fixing signs, repairing bridges), and roughly 60% of those actions overlap with the same crate networks that drop star shards. Likewise, Nobody Left Behind requires rescuing stranded NPCs, and most rescue encounters spawn in star-rich valleys. Chasing one trophy is, in practice, chasing three or four.
| Trophy | Star Counter Overlap | Best Synergy Route |
|---|---|---|
| Treasure Hunter | 100% (crates and stars share nodes) | Valley loops during day |
| Problem Solver | 60% (crate repair actions) | Workshop-to-mountain runs |
| Nobody Left Behind | 40% (rescue beacons near stars) | Coastline night drives |
| Master Mechanic | 25% (workshop repairs while passing) | Mixed trail circuits |
Treasure Hunter, Master Mechanic, and the Crate Economy
The Over the Hill treasure hunter achievement is the natural second milestone after the star collector chain, because crates are the second-highest pickup density after meteorites. Most crates contain a mix of star shards, gear parts, and one rare "treasure" item that registers the chest against the treasure counter. A clean 40-crate sweep is the typical community target for unlocking Treasure Hunter, but a thorough sweep that visits every crate network can finish the milestone in a single afternoon.
Crate Hotspots by Biome
| Biome | Average Crate Density | Treasure Tier Range | Star Shard Bonus |
|---|---|---|---|
| Coastal Dunes | 8 per km² | Common → Rare | +2 per crate |
| Forest Valleys | 12 per km² | Common → Uncommon | +3 per crate |
| Mountain Passes | 5 per km² | Rare → Epic | +5 per crate |
| Highland Plateaus | 7 per km² | Uncommon → Rare | +4 per crate |
| Desert Wastes | 10 per km² | Common → Legendary (rare spawn) | +6 per crate |
The desert wastes tier is the one most players underestimate, because legendary crate spawns are gated behind specific weather patterns. A clear, dry night can triple your effective crate density if you happen to roll into the right basin. That weather gating is the same system that powers the star collector achievement, which is why players who build a habit of reading the in-game sky report tend to finish Treasure Hunter 30–40% faster than players who just drive.
Master Mechanic and the Workshop Loop
The Over the Hill master mechanic achievement revolves around workshop interactions: repairing your vehicle, tuning engine parts, and upgrading suspension. Each workshop visit counts as one "mechanic action," and the achievement triggers at roughly 50 cumulative actions. Because workshops are clustered in the same hubs that contain crate networks and star nodes, a clean run can bank 8–10 mechanic actions per visit while also grabbing 12–15 star shards.
| Workshop Action | Action Weight | Perks Beyond Counter |
|---|---|---|
| Engine tune | 1.0 | +5% torque for 10 km |
| Suspension upgrade | 1.0 | +10% off-road grip |
| Body repair | 0.5 | Restores cosmetic state |
| Tire swap | 0.5 | Improves wet-trail handling |
| Full overhaul | 3.0 | Boosts all stats briefly |
The full overhaul action is the most efficient per minute, but it requires a clean trail into the workshop — which is exactly where the Smooth Ride achievement starts to overlap. Combining a full overhaul with a zero-damage run into a workshop is the single most efficient way to bank action points toward Master Mechanic, and the Over the Hill star collector achievement roadmap treats that synergy as a core planning rule.
Smooth Ride, Jalopy, and the Damage-Free Discipline
The Over the Hill smooth ride achievement is the first real skill check on the trophy list. It requires completing a full trail without taking any damage, which sounds forgiving until you realize the counter resets on any contact — including scraping a low rock, clipping a fence post, or grazing a passing deer. Community completion sits at 39.9% according to the same Steam stats page, which is unusually low for a binary "did you finish clean" challenge, and it tells you the tolerance window is tighter than it looks.
Trail Tier Comparison for Smooth Ride Attempts
| Trail Name | Length (km) | Difficulty | Recommended Vehicle | Star Shard Yield |
|---|---|---|---|---|
| Sunset Loop | 6.2 | Easy | Starter Hatch | 18 shards |
| Riverbed Crawl | 9.4 | Medium | Tuned 4x4 | 27 shards |
| Granite Spine | 12.8 | Hard | Reinforced Truck | 35 shards |
| Cloudbreak Ascent | 15.1 | Hard | Specialist Climber | 42 shards |
| Old Coaster Road | 4.7 | Easy (replay) | Any | 11 shards |
The Old Coaster Road is the recommended first Smooth Ride attempt for two reasons. First, it is short and flat, which lets new players learn the contact-detection rules without losing a 12-minute run to a single rock. Second, the route loops back through a known star shard hotspot, so even a failed attempt still banks pickups toward the star collector achievement. Veteran players report that the first clean run usually takes 4–7 attempts, because the contact radius is wider than the visible hitbox.
The Jalopy Path and the Nobody Left Behind Connection
The Over the Hill jalopy achievement is the story-mode companion to star collector — it triggers on the same counter but for a different pickup class: abandoned wrecks. Each jalopy you restore (rather than scrap) increments both the jalopy counter and a separate "rescue" counter that drives the Over the Hill nobody left behind achievement. Most players discover the link only after a few hours, because the rescue beacons glow in the same amber that star shards use, which means a player chasing stars at night is, almost by accident, also chasing rescue waypoints.
| Pickup Class | Counter Affected | Secondary Trophy | Optimal Time of Day |
|---|---|---|---|
| Star shards | Star Collector | Treasure Hunter (crates) | Any |
| Meteorite fragments | Star Collector | A Gift from the Stars | First 5 min post-impact |
| Wrecked jalopies | Jalopy | Nobody Left Behind | Dawn / dusk |
| Rescue beacons | Rescue | Nobody Left Behind | Night only |
| Workshop repairs | Mechanic | Master Mechanic | Any |
The Nobody Left Behind chain benefits dramatically from a planned night loop, because rescue beacons only glow after sunset. Most community reports suggest pairing a night rescue run with a Smooth Ride attempt on the Old Coaster Road — the loop is short enough to clear before the dawn cycle resets NPC spawns, and the road's gentle terrain gives a high success rate on the first try.
Problem Solver and the Context-Action Counter
The Over the Hill problem solver achievement is unique in that it triggers on context actions rather than pickups. Every time you fix a broken sign, repair a bridge cable, or unjam a stuck gear, the counter ticks. The threshold sits around 75 actions, which sounds high until you realize that every workshop visit, every jalopy repair, and most crate interactions also count as context actions. The action counter is the silent workhorse of the trophy list.
Context Action Categories
| Action Type | Weight | Frequency | Linked Trophy |
|---|---|---|---|
| Sign repair | 1.0 | Very common | Problem Solver |
| Bridge fix | 2.0 | Uncommon | Problem Solver + Master Mechanic |
| Crate unjam | 0.5 | Very common | Problem Solver + Treasure Hunter |
| Jalopy restore | 1.5 | Common | Problem Solver + Jalopy |
| Workshop overhaul | 3.0 | Common | Problem Solver + Master Mechanic |
The key insight is that the bridge-fix action is worth double, which means a player who specifically seeks out damaged bridges can cut the total time to Problem Solver by 30–40%. Bridges tend to cluster in the mountain passes, which is also where the highest star shard yields sit, so the Over the Hill star collector achievement chain and Problem Solver both benefit from the same route planning.
Timing Windows and Resets
Unlike star shards, which persist permanently once collected, context actions can reset if you leave and re-enter an area. This is a major source of frustration for new players who farm one bridge for an hour, then fast-travel to a workshop, and come back to find the bridge broken again. The safe strategy is to clear a full region in one pass — typically a 30–45 minute loop that hits all bridges, all signs, and all crates in a single biome.
Putting the Roadmap Together
A clean run that prioritizes star shards first, then crates, then jalopies, then context actions will unlock roughly 60% of the achievement list in a single afternoon. The remaining 40% — including the rare timed milestones, the night-only rescues, and the perfect Smooth Ride — require a more disciplined approach with deliberate weather and time-of-day cycles.
Suggested Play Order
| Step | Duration | Trophy Targets | Key Route |
|---|---|---|---|
| 1. Coastal tutorial loop | 30 min | First 25 star shards, Shiny Rock | Coastal Dunes |
| 2. Valley crate sweep | 60 min | Treasure Hunter, 75 star shards | Forest Valleys |
| 3. Mountain workshop loop | 75 min | Master Mechanic, 150 star shards | Mountain Passes |
| 4. Night rescue run | 45 min | Nobody Left Behind, Problem Solver partial | Coastline at night |
| 5. Old Coaster retry | 30 min | Smooth Ride | Old Coaster Road |
| 6. Desert weather watch | 60 min | Legendary crates, Jalopy | Desert Wastes |
| 7. Final full-sweep | 90 min | A Sack of Pebbles, 100% star counter | All biomes |
The total sits around six hours for a focused player, which is comparable to most trophy-hunting routes in the genre. The community is still building a definitive timing table, but early reports on the Over the Hill Steam discussion boards suggest the desert weather window for legendary crates is roughly 15 minutes long, and missing it can cost a full hour of replay.
Common Pitfalls to Avoid
Several traps trip up new players in the first 10 hours. First, the star counter persists across regions, so leaving the desert after a legendary crate storm and returning to the same basins the next day will not reset the spawns. Second, the Smooth Ride contact detection includes sound-based proximity, which means a deer that bolts across your path can trigger a wipe even if you never touch it — the cleanest runs use the high-beam lights to scare wildlife off the road in advance. Third, the Master Mechanic action counter is shared between the player and any co-op partner, so playing on a friend's save can double your mechanic progress per session, but it can also double your context-action drain if you forget which actions you have already banked.
| Pitfall | Symptom | Fix |
|---|---|---|
| Legendary crate reset | Crates no longer spawn after a storm | Wait 24 in-game hours |
| Wildlife contact wipe | Smooth Ride fails with no visible impact | Use high beams on wildlife |
| Co-op counter bleed | Master Mechanic overcounts in shared saves | Track actions manually |
| Night beacon timeout | Rescue beacons fade at dawn | Plan night runs before midnight |
| Star shard despawn | Shards vanish after 5 minutes | Collect immediately on impact |
Players who internalize those five rules tend to finish the entire achievement tree in 5–7 focused sessions, and most of those sessions can be folded into regular exploration without feeling like a grind. The Over the Hill star collector achievement is, at its core, a planning trophy more than a driving trophy, and the players who treat it that way tend to finish every related milestone in the same run.
Frequently Asked Questions
What is the fastest way to grind the Over the Hill star collector achievement?
Focus on meteorite impacts first because each one yields 30–40 shards. After every impact, do a tight 1 km loop to scoop stragglers, then move to the next basin. A 90-minute desert weather window can deliver 250+ shards if you chain impacts.
Does the Over the Hill treasure hunter achievement count star shards?
No, Treasure Hunter is tied to crates only. However, crates and star shards share the same spawn nodes, so any route you run for one is also productive for the other. Treat the two as a single chain rather than separate grinds.
Can I unlock the Over the Hill master mechanic achievement without co-op?
Yes, but it takes roughly 50 workshop actions, which is about 4–5 hours of solo play. The fastest solo method is to repair every bridge and do a full overhaul at every workshop you pass, which doubles as Problem Solver progress.
How do I avoid resetting the Over the Hill smooth ride achievement on wildlife?
Use your high-beam lights early and slow down by 10–15% in known wildlife zones. The contact detection includes a sound proximity radius, so a deer bolting 3 meters from your car can still wipe the run. Patience beats speed on the Old Coaster Road.
Is the Over the Hill nobody left behind achievement missable?
Every rescue beacon can be returned to within 48 in-game hours, so the chain is not missable in the strictest sense, but waiting too long can stack multiple rescues into one late-game run. The cleanest strategy is to clear coastline beacons during every night drive, which keeps the chain moving without dedicated farming.