
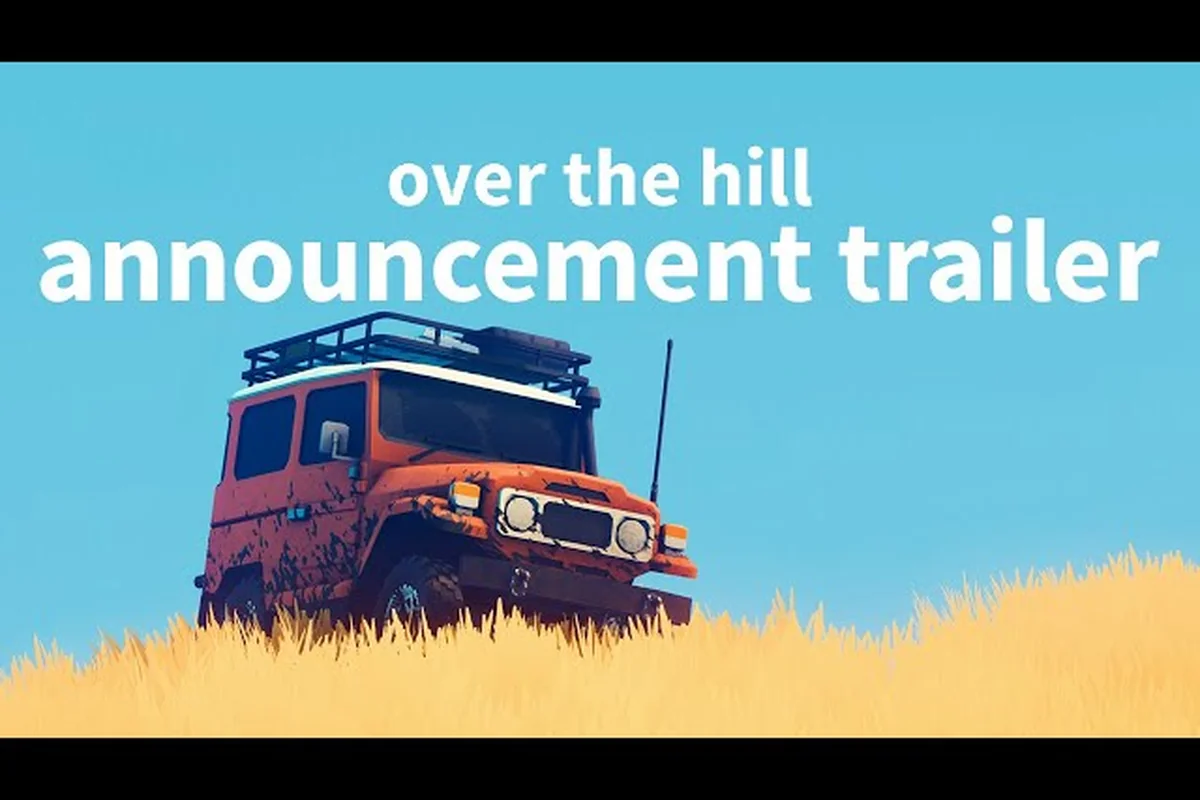
Driving a dented pickup across the Canadian wilderness alone is the purest way to experience the $24.99 off-road sim, and this Over the Hill full game guide is built for the solo player who wants every minute on the trail to count. According to the official over the hill Steam page, the experience is designed around spotting native wildlife, filling a photo compendium, and soaking in scenery across multiple biomes — all of which scale beautifully when you are running the route on your own clock.
Setting Up a Solo Run: What Changes Without a Crew
Playing without a convoy changes three things you need to plan for: recovery risk, photo timing, and progression pacing. In a four-player session a stranded teammate can winch you out, but a solo driver has to budget the winch cable, planks, and repair kits as if every one of them is the last you will find on the trail.
The practical upshot is that the early game loop in solo play becomes a tight cycle of: drive a short loop, stop for photos, return to a cabin, repair, and resupply. That loop sounds slow, but it is exactly how the game's economy and exploration rhythm are designed to feed themselves. Most of the first 50 pebbles you collect will come from crate routes around your first cabin, not from a heroic deep-wilderness run.
| Solo Concern | Multiplayer Reality | Solo Adjustment |
|---|---|---|
| Vehicle recovery | Teammate can tow | Carry a winch anchor and planks from the start |
| Photo timing | Crew can spot and distract | Stop earlier, use the in-game camera zoom |
| Upgrade pace | Shared pebble pool | Focus on engine and tires before cosmetics |
| Risk tolerance | Respawn is shared | Restart from a cabin saves a long trek |
According to the over the hill FAQ pinned on Steam Community, the title is priced at $24.99 USD with regional pricing tiers, and the soundtrack and Supporter Pack are sold separately. For a solo player who plans to invest dozens of hours, the soundtrack DLC at $9.99 is a strong pickup because the audio design is a large part of the solo atmosphere.
Picking Your First Vehicle for Solo Play
The pickup class is the most forgiving first unlock because its departure angle and weight distribution tolerate mistakes that would high-center a van or a short-wheelbase 4x4. If you have already cycled through the early garage, the over the hill vehicle list is worth cross-referencing to see which body style matches the region you plan to tackle first.
For a brand-new save, the safest first route is the forest region, because its surface is forgiving, its trails are short, and the wildlife compendium entries there are mostly diurnal. The forest and biomes overview is a useful companion when you are deciding whether to detour north into the mountain biomes or save them for after you have upgraded suspension.
Reading the Map and Planning an Efficient Solo Loop
The single biggest time-saver in solo play is treating the map screen as a checklist, not a destination picker. Each cabin you unlock functions as a fast-travel node, and each region has a finite set of crates, points of interest, and meteorite sites. The fastest clears come from drivers who sweep a region in a planned S-pattern rather than chasing every ping as it appears.
According to Steam Community achievement stats, 86.1% of players have unlocked Back to the Cabin — fast travel to an unlocked cabin — which is a strong signal that the cabin network is the de facto backbone of the entire experience. A solo driver who treats every trailhead as "find a cabin, mark the next one, sweep the in-between" will outpace a driver who free-roams by a wide margin.
A Sample First-Week Route Plan
The plan below assumes a brand-new save with the default pickup and no upgrades purchased. It is not a speedrun route — it is a sustainable loop that leaves the player ready for a mid-week upgrade push without burning out on tedious grinding.
| Day | Focus | Cabin Anchor | Expected Unlock |
|---|---|---|---|
| Day 1 | Tutorial + forest loop | First cabin | New Style, Welcome to the Wild |
| Day 2 | Crate sweep + photo pass | First cabin | Dirt Baptism, A Handful of Pebbles |
| Day 3 | Mountain approach trail | Mountain cabin | First engine upgrade |
| Day 4 | Lake and river crossing | Lakeside cabin | Plank toolkit expand |
| Day 5 | Desert entry | Desert cabin | Tire upgrade tier 1 |
| Day 6 | Snow preview run | Snow outpost | Suspension upgrade tier 1 |
| Day 7 | Compendium pass | Any unlocked cabin | Wildlife milestone |
Notice that the loop is anchored to cabins rather than to specific points of interest. Cabins are the fast-travel network, and the fast-travel network is the only thing that keeps a solo driver from losing 20 minutes on a return trip after a hard landing. The over the hill beginner guide covers the first-hour setup in more detail if you are still on Day 1.
How to Explore Efficiently Without Burning Out
A solo driver faces a different kind of fatigue than a co-op crew. There is no voice chat breaking up the drive, and the temptation to Alt-F4 after a long detour is real. The antidote is a simple rule: never leave a region without completing at least one compendium entry and one crate sweep. That tiny commitment turns every drive into a small win, and small wins are what carry a solo player through the long Algerian mid-game.
A practical rhythm looks like this: drive 8-12 minutes, stop for one photo, mark one point of interest, crack one crate, and return to the nearest cabin. This is roughly 25-35 minutes of real-time play per loop, and it produces about 80-120 pebbles per session on a mid-game save. The numbers will feel low at first, but they compound because each loop also unlocks fast-travel shortcuts that make the next loop cheaper.
Upgrades That Pay for Themselves First
The upgrade economy in solo play favors a defensive build order. Engine, suspension, and tires in that order produce the most usable improvement for the least pebbles. Cosmetic and cargo upgrades can wait until the late game, when the over the hill upgrades guide becomes more relevant.
| Priority | Upgrade | Why It Matters Solo | Approx. Pebble Tier |
|---|---|---|---|
| 1 | Engine | Better hill climbs, fewer roll-backs | Low |
| 2 | Suspension | Smoother landings, less body damage | Low-Mid |
| 3 | Tires | Mud and snow grip without swapping | Mid |
| 4 | Drivetrain | 4WD engagement for late-game trails | Mid-High |
| 5 | Cosmetics | Style only — save for late game | High |
The reason engine comes first is that bogging down on a hill is the most common solo death spiral. You lose momentum, the vehicle stalls, and you have to winch out — burning cable and time. A modest engine upgrade turns those near-misses into clean climbs, which preserves your winch for the genuinely stuck situations.
Photography and the Wildlife Compendium as a Solo Activity
The wildlife compendium is the single most rewarding long-term goal in solo play, because it rewards patience, route planning, and timing rather than reflexes. Each species has a spawn window, a preferred biome, and a scare radius, and chasing them without a plan is how solo drivers burn a two-hour session and end up with three new entries.
The over the hill best photo spots guide breaks down sunrise and sunset windows by biome, and the short version is: plan your loop around golden hour, not the other way around. The lighting during the first and last 30 in-game minutes of a day is when the rarest mammal and bird spawns become photographable, and missing that window means waiting for a full real-time day cycle.
Reading Animal Behavior Without a Spotter
In co-op, one player can drive while another watches the treeline. Solo, you have to read the cues yourself: bird calls that grow louder mean a herd is nearby, sudden silence means a predator has entered the area, and a slow side-approach with the engine off is the difference between a frame-filling shot and an empty frame. The camera itself has a zoom range that is generous enough to fill the frame from 30-40 meters, which is the distance at which most mammals will tolerate a stationary vehicle.
A useful habit is to stop the vehicle, kill the engine, and wait 15-20 seconds before raising the camera. Animals that were spooked by the engine will often re-emerge in that window, and the brief pause also lets the lighting stabilize for a cleaner shot. Players who skip this step consistently report empty photo logs and wasted spawn windows.
Best Tips and Tricks for the Long Mid-Game
The mid-game is where most solo players either lock in a sustainable routine or quietly drop the title. According to community reports, the average completionist clear is in the 25-40 hour range, which is long enough that bad habits compound. The trick is to make the second 10 hours feel as varied as the first 5 by rotating focus.
A practical rotation: one session on upgrades, one session on photography, one session on crate sweeping, and one session on a new region entry. That four-day cycle produces a steady stream of achievement unlocks without any single activity becoming a chore. It also makes the over the hill best tips and tricks feel less like a checklist and more like a rotation of small goals.
| Session | Goal | Likely Unlocks |
|---|---|---|
| Upgrade | Spend 200+ pebbles on engine and tires | Getting Better, Fleet Owner |
| Photography | Fill 5-8 compendium entries | Naturalist progress, Wildlife Enthusiast |
| Crate sweep | Clear 30+ crates in a single loop | A Handful of Pebbles, Treasure Hunter |
| Region entry | Reach a new biome and unlock a cabin | Canadian/Algerian Passport progress |
The session that tends to be skipped is the crate sweep, because it is the least glamorous. But crate sweeps are also where most of the late-game currency comes from, and skipping them forces the upgrade pace to slow down, which in turn makes the harder regions feel grindier than they need to be.
Handling the Toughest Solo Recovery Scenarios
A solo driver eventually gets stuck in a situation the winch cannot solve: a fully submerged vehicle, a roll on a steep slope, or a high-center that strands the undercarriage. The community-recommended response is to abandon the vehicle, fast travel to the nearest cabin, and return on foot with a repair kit and a fresh winch anchor. This sounds slow, but it is faster than burning three repair kits trying to drive out of a position the suspension cannot clear.
The other high-frequency solo mistake is over-relying on the plank toolkit to bridge gaps that are actually water crossings. Planks are finite, and a solo driver does not have a crewmate carrying a backup stack. The discipline is to scout the crossing on foot first, commit planks only when the gap is clearly bridgeable, and treat any water deeper than the wheel hubs as a no-go without a mid-game engine upgrade.
Putting It All Together: A Solo-First Mindset
The reason the solo experience works is that the game was clearly tuned for short, repeatable loops. There is no failure state that costs more than a few minutes of repair time, the cabins are generously distributed, and the photo compendium rewards patience over reflexes. A driver who accepts that the optimal solo pace is 25-40 minutes per loop, with one small goal per loop, will find the experience relaxing rather than tedious.
For a player coming in fresh, the practical opening moves are: claim the first cabin fast, run a forest loop, take 10-15 photos, buy the first engine upgrade, and only then start thinking about the mountain or desert biomes. That sequence takes about three real-time hours and produces a save that is ready for the long mid-game without any of the early-game regrets that solo players most commonly report.
The full game guide for solo play ultimately comes down to three habits: anchor every drive to a cabin, take a photo every loop, and never leave a region without cracking at least one crate. Those three rules turn a 30-hour sandbox into a manageable, satisfying progression arc that respects your time and rewards patience with one of the more thoughtful driving sims on the market.
Frequently Asked Questions
Is Over the Hill worth playing solo, or is it strictly a co-op game?
Solo play is fully supported and is, according to many community reports, the most relaxed way to experience the title. The progression systems, photo compendium, and cabin fast-travel network all scale to a single driver, and there is no content that locks you out for running alone.
How long does a solo completionist run take?
Community estimates cluster in the 25-40 hour range for a full region sweep, all 62 Steam achievements, and a completed wildlife compendium. A casual player who skips some crate routes can finish the main progression arc in roughly 15-20 hours.
What is the best starter vehicle for a solo player?
The pickup class is the safest first unlock because of its forgiving departure angle and stable weight distribution. Short-wheelbase 4x4s and vans are fun late-game options but are punishing for a driver still learning the recovery toolkit.
Can I catch up to a co-op friend's progress if I start later?
Yes, the game is designed around parallel progression rather than gated content. A solo player can unlock any cabin, region, or vehicle without coordinating with a hosted session, and the photo compendium is entirely single-player content.
Should I buy the soundtrack or Supporter Pack as a solo player?
The soundtrack at $9.99 is the stronger pickup for solo play because the audio design carries a large share of the atmosphere. The Supporter Pack at $9.99 is a nice-to-have for cosmetics, printable maps, and 4K wallpapers, but it does not change gameplay.