
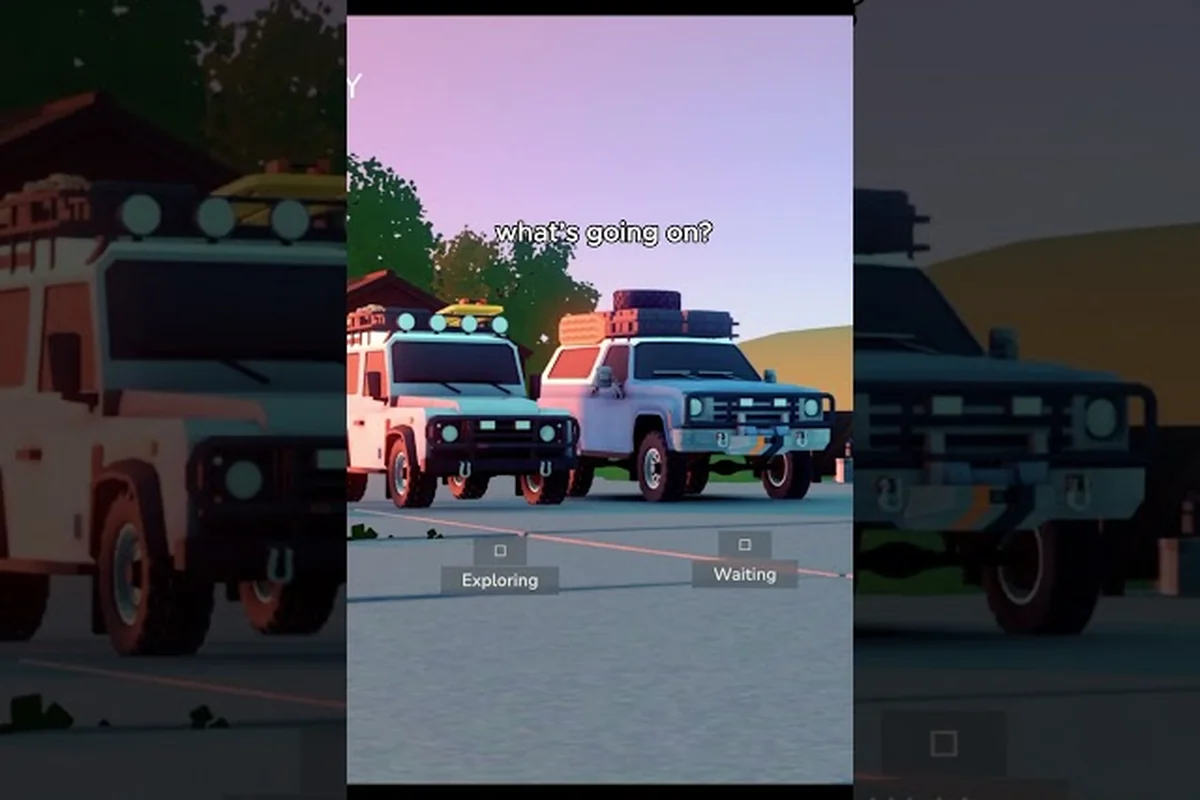
Over the Hill hides more between the trails than most first-time drivers expect. Remote cabins, weather-beaten viewpoints, fallen meteorites, and quietly tucked supply caches all sit just off the main dirt paths that wind through forests, lakesides, and mountain switchbacks. Knowing where the off-trail routes begin turns a casual cruise into a focused expedition and unlocks the collectibles that drive real map completion.
What Counts as a Hidden Area in Over the Hill
A hidden area in Over the Hill is any location that does not announce itself from the main trail. The official Steam page groups its discoverables into woodland, shoreline, and mountain surroundings, listing tucked-away huts, photogenic overlooks, natural features, fallen space rocks, and gateways that open fresh regions. None of those five categories sits on a paved road, and each one rewards the player who steers a few hundred meters off the marked route. The category list is broad on purpose, because hidden areas are not a single collectible type but a cluster of off-path targets layered onto the same map.
The most common confusion is treating a "hidden area" as the same thing as a "secret achievement." Achievements track milestone events, while hidden areas are physical coordinates with content attached. The Steam achievement "Back to the Cabin — Fast travel to an unlocked cabin" (unlocked by 86.1% of players according to community achievement stats) proves that finding a cabin and unlocking its fast-travel waypoint are closely linked, but the cabin itself is a point on the map, not an achievement trigger. The Fast Travel Network is the bridge between the two systems: discover a cabin, register it, then use it to push deeper into other hidden areas the next time you leave the trail.
Another way to frame hidden areas is by what they replace. When you leave the main road, you give up guaranteed forward progress in exchange for collectibles, cosmetic unlocks, and lore fragments. The Trail Economy favors staying on the path, while the Exploration Economy rewards frequent detours. Players who chase the Map Completion bar lean toward exploration, while drivers focused on timed objectives stay on the trail. Neither approach is wrong, but mixing the two without a plan leads to the most common hidden-area mistake: finding a cabin and never circling back to clear the supply caches behind it.
| Hidden Area Type | What It Contains | Trail Visibility | Typical Reward |
|---|---|---|---|
| Abandoned cabin | Fast-travel node, merchant, optional stash | Hidden behind treeline or ridge | Fast travel, cosmetic shop, cabin completion |
| Supply cache | Loot, upgrade parts, or cosmetic tokens | Completely off-trail, often uphill | Upgrade currency, vanity item |
| Natural landmark | Photo/compendium entry, scenic viewpoint | Visible from ridge, unreachable by road | Wildlife photo, region progress |
| Meteorite site | Rare event, crafting material | Sky-glow only at night | Rare material, achievement progress |
| Portal | Fast travel between regions, story beat | Glows in distance, requires off-trail approach | Region skip, narrative milestone |
The Over the Hill Points of Interest List by Region
The game uses area-based maps, which means a complete over the hill points of interest list is really several regional lists stitched together. The pinned FAQ on the official Steam discussions confirms this structure: "No, 'over the hill' features area/level-based maps. There will be different regions and different areas inside those regions." That sentence is the foundation for any collectible route, because you cannot plan a region-spanning trip until you know where one region ends and the next begins. The full region breakdown lives in our region map guide, but the points of interest below are the highlights every collector should hit first.
Canada Region Hotspots
The Canada region is the easiest entry point because the trails are gentle and the off-trail deviations are short. The early-game hidden areas cluster within a 1-kilometer radius of the first cabin, which is also where the achievement "Welcome to the Wild — Complete the first trail" is most often unlocked according to community achievement tracking. The First Cabin Anchor is the single most important point of interest in Canada: every other hidden area in the region is reachable from it once fast travel is unlocked, which is why so many players clear Canada in a single afternoon.
-
First Cabin Anchor — fast-travel node, the hub for all Canada detours
-
Pebble Field (north) — high-density Pebble spawn for the "A Handful of Pebbles — Collect 100 pebbles" achievement
-
Pebble Field (east) — secondary spawn, useful when the north field has been cleared
-
Lakeside Overlook — natural landmark, panoramic photo opportunity
-
Beached Canoe — environmental storytelling, no reward but worth the visit
Algeria Region Hotspots
Algeria is the region where off-trail driving stops being a casual detour and starts being a commitment. Trails narrow, switchbacks tighten, and the hidden areas sit behind longer climbs. The Algeria Ridge Cabin is the gateway, and the off-trail detours behind it feed directly into the meteorite circuits that make the late-game collectible loop so rewarding. The detailed layout, including the 4km x 4km area boundaries, is mapped in our Algeria region guide, but the three highest-priority points of interest are listed below.
-
Algeria Ridge Cabin — fast-travel node, mountain overlook, entrance to the ridge circuit
-
Meteorite Crater A — rare material, requires night-time approach for the glow to be visible
-
Meteorite Crater B — secondary crater, pairs with Crater A for the Rare Meteorite event chain
-
Switchback Supply Cache — upgrade parts, hidden behind a false trail fork
-
Plateau Viewpoint — one of the few Natural Landmarks with a 360-degree camera angle
According to the Steam Community achievement statistics for Over the Hill, the completion rates for hidden-area-related achievements tend to be among the lowest in the game, suggesting that many players overlook these secret spots.
Finding Over the Hill Natural Landmarks Without a Marker
Natural landmarks are the most forgiving hidden areas in the game. They do not require a precise route, a specific time of day, or a long off-trail hike. They are simply the geographic features that the world naturally places between trails: ridgelines, cliff faces, river bends, lakeside flats, and clearings with unusually old trees. The trick to a clean over the hill natural landmarks sweep is not speed, but angle. You find landmarks by approaching them from a direction that forces the camera to frame them as a subject, then waiting for the in-game photo prompt to register.
The wildlife compendium system ties directly into this loop. Landmarks are also where the camera is most likely to capture a wildlife shot, which feeds back into map completion because the same photo can satisfy both a landmark entry and a wildlife entry. Players chasing the 100% Map Completion bar should treat every ridge pull-off as a two-question test: "Is this a landmark, and can I get a clean wildlife photo from here?" If either answer is yes, stop and scan the area for 30 seconds before moving on.
| Landmark Type | Best Camera Angle | Common Mistake | Weather Bonus |
|---|---|---|---|
| Ridge overlook | East, mid-morning | Driving past the unmarked pull-off | Fog adds depth |
| Lakeside flat | North, low sun | Parking too close to the water | Calm water = mirror shot |
| River bend | West, golden hour | Stopping on the trail instead of off it | Overcast = softer colors |
| Clearing with old trees | South, midday | Treating it as a regular pull-off | Snow season adds contrast |
| Cliff face | South, late afternoon | Trying to climb instead of photographing | Storm light = dramatic sky |
Tracking Down Over the Hill Abandoned Cabins
Cabins are the structural backbone of the over the hill collectible map. Each cabin unlocks fast travel, a possible merchant, and the surrounding supply caches that define the local hidden area cluster. The community achievement "Back to the Cabin" sits at 86.1% completion, which is unusually high for a fast-travel unlock and tells you that the average player discovers most cabins but misses the long-tail content around them. The fix is a simple two-pass method: clear the immediate cabin area on the first pass for fast travel, then loop back later with the Scenic Viewpoints Guide route to mop up the caches you skipped. A complete cabin walkthrough is in our cabin and viewpoints breakdown, but the framework below works for any region.
Pass One: Fast-Travel Capture
The first pass exists for one reason: registering the cabin as a fast-travel waypoint. Once the waypoint is live, you can return to the cabin from any other unlocked cabin in the region, which is what makes the second pass feasible at all. Do not stop to clear supply caches on pass one, because the detour cost compounds quickly. The goal is to unlock every cabin waypoint in the region, then move on. This pass alone should unlock the "Back to the Cabin" achievement for most players, since the achievement tracks fast-travel registration, not full cabin completion.
-
Drive the main trail, exit only when a cabin roof is visible
-
Park within the cabin's fast-travel radius (the prompt appears automatically)
-
Do not deviate toward caches, viewpoints, or landmarks on this pass
-
Move to the next cabin; revisit the region later
Pass Two: Cache and Viewpoint Sweep
Pass two is where the over the hill supply caches and viewpoints come in. By this point you have the entire cabin network live, so a single regional loop can clear every cache behind every cabin without ever backtracking on the main trail. The order matters: clear caches while you are closest, because off-trail driving in reverse is significantly harder than off-trail driving on the way out. The second pass is also when you should pull out the Photo Compendium and start capturing the landmark shots you skipped on pass one, because many viewpoints sit only a few meters from a supply cache's parking spot.
| Cabin | Nearby Cache | Distance Off-Trail | Best Approach Direction |
|---|---|---|---|
| First Cabin Anchor | Lakeside Stash | 120 m | South from cabin door |
| Algeria Ridge Cabin | Switchback Cache | 300 m | West along the lower trail |
| Plateau Cabin | Boulder Cache | 180 m | East, follow the cairn markers |
| River Fork Cabin | Driftwood Cache | 90 m | North, downstream |
| Stormwatch Cabin | Ridge Cache | 410 m | Northwest, only after pass two |
A Practical Over the Hill Collectible Map Workflow
A working over the hill collectible map is less about memorizing coordinates and more about a repeatable workflow you can apply to any region. The workflow has four phases: register, route, sweep, and verify. Skipping any one of them leaves a partial clear, which is the single most common cause of stuck map completion percentages. The phases below assume a moderate play session of one to two hours; longer sessions simply chain multiple regions together, but the per-region structure stays the same.
Phase 1: Register All Cabins in the Region
Open your current region and drive the entire main trail once, exiting only to register cabin waypoints. The cabin list for the current region is the routing backbone of the entire workflow, because every later phase starts from a cabin. Do not stop to photograph, do not stop to collect pebbles, do not stop for meteorite glows. The goal of phase 1 is purely to populate the fast-travel map with as many cabin nodes as possible. Once the main trail is fully driven, the region is "registered" and ready for phase 2.
Phase 2: Route Caches From Each Cabin
With the cabin network live, build a per-cabin route that hits every off-trail cache, viewpoint, and landmark within a reasonable detour. A reasonable detour is anything under 500 meters off the main trail, because longer detours rarely pay off in upgrade currency. The route does not need to be optimal on the first try; a workable loop that touches each cabin's surrounding points of interest is good enough. Optimize later, after you have run the loop once and seen which detours actually have content.
Phase 3: Sweep Caches and Capture Landmarks
Drive the per-cabin route you built in phase 2. At each stop, do three things in this exact order: park the vehicle, scan for the supply cache, then check the camera for a landmark photo opportunity. The order matters because parking first avoids the failure mode of capturing a photo from a moving vehicle and missing the cache. Each cabin's sweep should take five to ten minutes, and a full regional sweep should fit in a single play session.
Phase 4: Verify and Re-Sweep
After the sweep, open the map and look for icons that are still unexplored in regions you have already cleared. If any cabin's surrounding icons are still lit, that cabin is a candidate for a re-sweep. The most common reason for a missed icon is that you parked too close to the trail and never walked the last 30 meters to the cache. Walking from the vehicle is part of the sweep, and the workflow above only works if you commit to leaving the driver's seat at each stop.
| Phase | Goal | Time Budget | Skip If... |
|---|---|---|---|
| Register | Unlock every cabin waypoint | 30–45 min | Region is already fully registered |
| Route | Build a per-cabin cache loop | 5–10 min | Caches are already mapped |
| Sweep | Clear caches + capture landmarks | 60–90 min | Region is already at 100% |
| Verify | Re-sweep any lit icons | 15–20 min | Map is fully clear |
How to Find Over the Hill Collectibles Off the Beaten Path
The phrase over the hill how to find collectibles gets asked on the Steam forums often enough that it deserves a dedicated answer. The general-purpose method is to treat every off-trail pull-off as a three-question test before you commit to the detour. First, can you see a cabin roof, a viewpoint platform, or a sky-glow from where you are parked? If the answer is no, you are about to wander off-trail without a target, and the detour is likely wasted. Second, is the surface driveable? Many off-trail detours in Algeria look tempting but end in soft sand, loose scree, or a tree line too dense to push through. Third, do you have enough fuel and vehicle health to recover if the detour goes wrong? Off-trail driving in Over the Hill is recoverable, but only if you have the resources to back out. The community report that "offroad game but without Jeep Wrangler Style?" comes up frequently in the Steam forums is a good reminder that the starter vehicles in the game are not built for aggressive off-trail driving, and the Vehicle Class of your current ride should set the upper bound on how aggressive your detours can be.
The second layer of the method is to read the environment for clues the game drops in plain sight. Foot trails worn into grass, broken fences, abandoned vehicle husks, and small cairns all mark the path toward a hidden area. Cairns in particular are a developer-placed breadcrumb system: where you see one, there will be two more, and they will lead to a cache or a viewpoint within 200 meters. Players who learn to read cairns report cutting their average detour time in half, because the cairn network short-circuits the trial-and-error phase of off-trail exploration.
The third layer is to use the time of day. Meteorite sites glow at night, certain viewpoints frame better at golden hour, and wildlife is most active at dawn and dusk. Planning a sweep session around the in-game clock can double the yield of a single trip, because the same detour that yields one cache in daylight can yield a cache plus a meteorite sample plus a wildlife photo at the right hour. The day/night cycle is not cosmetic, it is a routing constraint, and treating it as one is what separates a 60% completion run from a 100% completion run.
Building a Sustainable Over the Hill Supply Cache Route
Supply caches are the most repeatable hidden-area content in the game, and the most likely to be left behind on a casual play-through. A sustainable over the hill supply caches route treats each cabin as a hub and each cache as a spoke, which means the route scales naturally as you unlock more cabins. The starter route should cover the first three cabins in the active region, because three cabins give you a triangle of fast-travel nodes that you can loop in any direction without backtracking. Once the triangle is clear, the next step is to add the fourth and fifth cabin to the loop, then close the route by sweeping the spokes you skipped on the first pass.
The supply cache economy also rewards inventory management. Each cache drops a mix of upgrade currency, cosmetic tokens, and occasionally rare materials from the meteorite chain. The upgrade currency feeds the vehicle upgrade tree, the cosmetic tokens feed the cosmetic shop at any registered cabin, and the rare materials feed the late-game meteorite events. Skipping a cache because your inventory is full is the most preventable source of wasted detours, and the standard fix is to fast-travel back to a registered cabin, deposit the haul at the cosmetic shop, and return to the sweep with empty pockets. Inventory pressure is also why the "Getting Better — Purchase your first upgrade" achievement sits at 89.0% completion, because most players who reach the cosmetic shop have already learned to manage their inventory pressure.
| Cache Tier | Common Drop | Rare Drop | Respawn Behavior |
|---|---|---|---|
| Starter | Upgrade currency | Cosmetic token | Respawns each region clear |
| Mid | Upgrade currency, cosmetic | Rare material | Respawns after meteorite event |
| Late | Cosmetic, rare material | Meteorite sample | Tied to weather cycle |
| Meteorite | Meteorite sample | Achievement progress | Night only, weather-dependent |
Frequently Asked Questions
What is the fastest way to discover Over the Hill hidden areas?
Drive the main trail of your current region once and exit toward any visible cabin roof, sky-glow, or marked pull-off. Register every cabin as a fast-travel waypoint on that first pass, then loop back from each cabin to clear the surrounding caches, viewpoints, and landmarks on a second pass. This two-pass method is what most completion-focused players use because it converts the cabin network into a routing backbone before the off-trail work begins.
Are meteorite sites always active, or do they require a specific time?
Meteorite sites are tied to the in-game weather and time cycle, and the glow is only visible at night under clear or partly cloudy skies. Plan meteorite detours after dusk, and check the in-game weather indicator before committing to a long off-trail climb, because a storm layer will block the glow and the route becomes a wasted detour.
Do I need a specific vehicle to reach the hidden areas?
Not a specific vehicle, but the Vehicle Class matters for the most aggressive detours. Starter vehicles handle the early-game cabin routes without issue, while late-game supply caches behind ridges and switchbacks usually require a mid-tier or upgraded vehicle with better ground clearance and traction. Upgrading the starter vehicle at the first merchant is the cheapest way to extend the off-trail range.
How does the fast-travel network tie into map completion?
Unlocking a cabin registers it as a fast-travel waypoint, and the waypoint count feeds directly into the map completion bar. The achievement "Back to the Cabin" tracks this exact moment at 86.1% community completion, which means most players register the cabins they need but miss the surrounding caches. A clean sweep ties the fast-travel unlock to the cache clear, which is what pushes the map completion bar toward 100%.
Can I find all hidden areas without following the main trail?
Yes, but only with the cabin network already unlocked. The first-time discovery of a hidden area almost always happens from a main-trail pull-off, because the game's breadcrumb system (foot trails, cairns, broken fences) is anchored to the main trail. After the first pass, the fast-travel network lets you skip the main trail entirely and start each sweep from a cabin, which is the most efficient way to clean up the long-tail hidden areas.