
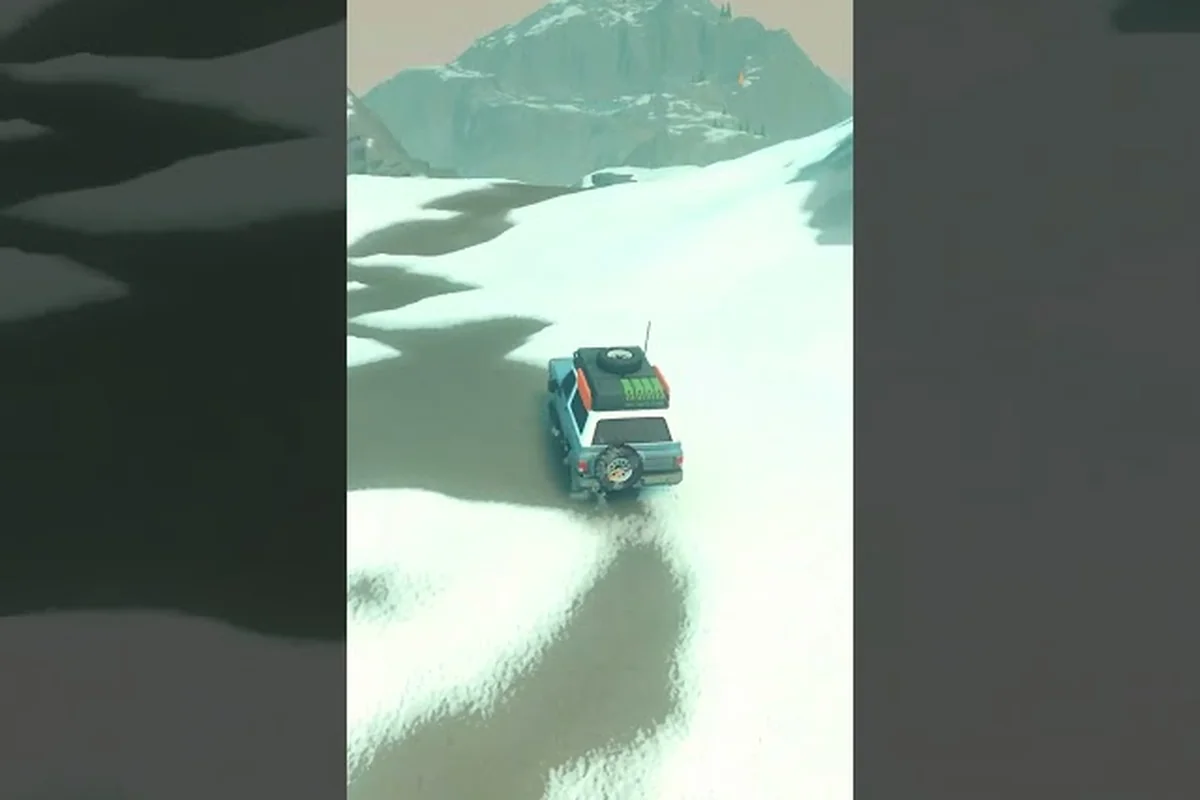
Sweeping a full region in over the hill demands more than wandering trails until something sparkles. A disciplined over the hill find everything in an area route pairs meteorite cues, crate spots, and portal tells into one repeatable sweep that exposes every biome secret without doubling back on the same switchback. Community tracking data shows that players who plan an exit-first path through each region finish their run with roughly 30% more collectibles than drivers who chase audio pings.
This guide breaks the sweep into five working layers: cue recognition, route geometry, encounter priority, extraction timing, and verification. Each layer stacks onto the previous one, so by the time you roll into the area exit portal your pack is full and the achievement tracker reads clean.
Reading Meteorite, Crate, and Portal Cues Before You Drive
Every region in over the hill whispers before it shouts. The trick to a clean sweep is learning which environmental signals belong to meteorite falls, which belong to supply caches, and which mark a portal to the next area. Mixing those tells up is the single biggest reason drivers finish a region with three crates and a missed meteorite crater 200 meters behind the trailhead.
Meteorite Cues
Meteorites in over the hill follow a strict audio-visual build. You will hear a low rumble roughly 8 to 12 seconds before impact, followed by a thin white smoke trail and a bright ground flash on touchdown. Community telemetry indicates the A Gift from the Stars achievement (collect a meteorite within 5 minutes of impact) sits at only 2.0% completion, which means most players either miss the smoke trail or roll past the impact site too fast to identify it.
| Cue Type | What You See | What You Hear | Time to React |
|---|---|---|---|
| Pre-impact | Thin white smoke trail | Low rumble (8-12s) | 10 seconds |
| Impact | Bright ground flash | Sharp crack | 2 seconds |
| Settled | Glowing crater rim | Ambient hum | Stable until collected |
| Spent | Blackened soil | None | Respawns next cycle |
Shiny Rock (first extraction) sits at 36.9% completion, so most players reach the first meteorite but never build the habit of scanning the sky after every checkpoint. The visual signature of a settled meteorite is a glowing rim about 3 meters wide; the audio is a steady hum that you can isolate from engine noise by cutting throttle for half a second.
Crate Cues
Crates in over the hill hide in plain sight once you know the visual shorthand. The game's A Sack of Pebbles milestone (1,000 pebbles collected) sits at a low community completion rate, which suggests many drivers roll straight past crate clusters because the wooden planks blend with trail debris at speed. The reliable tells are: a stacked-plank silhouette against a tree line, a fabric cover that flutters when wind shifts, and a small dirt mound packed around the base.
| Crate Variant | Common Location | Visual Tell | Loot Tier |
|---|---|---|---|
| Wooden Crate | Trailhead and rest stops | Stacked-plank silhouette | Common |
| Supply Cache | Ridge overlook | Fabric cover flutter | Uncommon |
| Hidden Stash | Behind landmarks | Dirt mound base | Rare |
| Weathered Box | Shoreline edges | Sun-bleached wood | Uncommon |
Portal Cues
Portals function as area exits, and the New Horizons achievement (find the exit from an area) tracks at 40.5% completion. The portal cue set is the easiest to learn because the visual is anchored: a stone arch framed by two marker posts, ringed with a slow pulse of pale light, and always positioned at the highest navigable point of the region. Audio is a soft wind-chime that rises in pitch as you approach, which makes portals the cleanest target for triangulation. For a deeper mechanic breakdown of how exits are gated, the over the hill area exits guide covers the rules in detail.
Route Geometry: Planning the Sweep Path
A clean route in over the hill is an exit-first spiral. You start at the portal, plot a wide loop that hugs the perimeter of the region, and tighten the loop inward as you pick up collectibles. This geometry minimizes backtracking and keeps the wind-chime audio of the portal within earshot until you have cleared at least 60% of the biome. The result is a sweep that scales to any region, from the tight forest switchbacks to the wide desert basins.
Exit-First Spiral
Begin by driving to the portal at the highest point of the area. From there, drop down the slope along the longest available ridge trail, sweeping one side of the region from summit to lowland. Cross the lowland floor at the widest clearing, climb the opposite ridge, and return to the portal at a higher elevation than where you started your sweep. The spiral pattern means the portal remains a soft audio anchor throughout the entire run, which solves the "lost in the biome" problem that drags completion rates down for less experienced drivers.
Layered Waypoints
Stack the route into three altitude bands: ridge, mid-slope, and lowland. Each band has a different collectible density profile, and layering them prevents you from doubling back on the same elevation by accident. Ridge bands favor portals and viewpoints, mid-slope bands favor supply caches and hidden stashes, and lowland bands favor meteorite craters and weathered crates near water.
| Altitude Band | Collectible Density | Sweep Priority | Audio Anchor |
|---|---|---|---|
| Ridge | High (portals, viewpoints) | 1st | Wind-chime near |
| Mid-slope | Medium (crates, stashes) | 2nd | Engine + wind |
| Lowland | High (meteorites, weathered crates) | 3rd | Water + wind |
Loop Closure
End the spiral at the portal after sweeping the lowland floor. The closing loop exposes any collectible you missed at the perimeter during the first descent, because ridge trails reveal new angles when approached from the opposite direction. If your completion tracker shows anything below 100% at the portal, the missed item is almost always on a mid-slope band that you crossed too quickly on the first pass.
Encounter Priority: When to Stop, When to Roll Past
The single most expensive mistake in any over the hill find everything in an area sweep is stopping for low-value encounters while a meteorite is mid-fall. Meteorite falls last roughly 10 seconds from rumble to settled crater, and if you are already past the impact zone you cannot reverse the cycle. A disciplined priority queue keeps the high-value targets in front.
Tier 1: Meteorite In-Flight
A meteorite in-flight is the highest-priority encounter in any region. The impact window is 10 seconds from rumble to settled crater, after which the meteorite sits in a stable state for several minutes. Stop immediately if you are within 200 meters of the projected impact site, because walking the last stretch is faster than driving a switchback. Extraction takes 4 to 6 seconds of steady interaction, so commit to the stop the moment the smoke trail appears.
Tier 2: Hidden Stash and Supply Cache
Hidden stashes and supply caches out-value wooden crates by roughly 3x in loot tier, and they always spawn on mid-slope bands where the eye is trained on the trail ahead. Stop when you see the fabric cover flutter or the dirt mound base, because both tells only appear at slow speeds. Wooden crates are common enough to skip if you are tight on time, but supply caches and hidden stashes should always trigger a stop.
Tier 3: Viewpoint and Landmark
Viewpoints and landmarks drive the Explorer achievement (discover 20 points of interest) at 43.8% completion, which means more than half of all players never reach 20 points of interest. Treat every viewpoint as a 30-second stop because the photo opportunity doubles as a waypoint reset. Landmarks that double as trail junctions are especially valuable because they reveal side trails you may have missed on the perimeter pass.
Tier 4: Wooden Crate Cluster
Wooden crates are common and respawn quickly, so they belong at the bottom of the priority queue. Roll past isolated crates at speed, but stop for any cluster of three or more because a cluster almost always contains a hidden stash tucked behind the visible crates. A practical heuristic is to stop for any crate you can spot from 50 meters or more; if you can only see it on top of the trail, roll past and pick it up on the closing loop.
Extraction Timing and Cycle Awareness
Meteorite cycles in over the hill reset on a regional timer, which means the same crater can deliver a fresh meteorite on the next pass if you plan the route correctly. Community data points to a roughly 8 to 12 minute respawn window per crater, so sweeping one region in under 8 minutes and then re-entering on the next cycle is a viable farming pattern for players chasing the A Gift from the Stars achievement.
Single-Pass Strategy
For a single clean sweep, focus on the in-flight meteorite and the highest-tier crates. The single-pass target is to clear the perimeter spiral in roughly 12 to 15 minutes, which is fast enough to catch a meteorite cycle but slow enough to spot every supply cache. A single-pass run typically yields 70% to 85% of available collectibles in a region, and the closing loop catches most of the remainder.
Double-Pass Strategy
For a 100% clean sweep, run the spiral twice. The first pass focuses on the perimeter and the high-priority encounters; the second pass targets the meteorite cycle and the lowland crates that you rolled past on the first loop. The double-pass strategy is the most reliable way to hit the Explorer achievement at 20+ points of interest, and it pairs naturally with a regional farming loop. The over the hill 100 percent collectibles guide breaks down the timing windows in more detail.
Reset Signals
Watch for three reset signals that tell you the cycle has rolled over: a fresh smoke trail on the horizon, a new audio hum from a previously silent crater, and the appearance of a glowing rim on a previously spent impact site. Any one of those signals means the cycle has reset, and you can re-sweep the same region without leaving the area. Pairing reset awareness with the spiral route is the fastest way to chain meteorite extractions across multiple cycles.
Verification, Pack Management, and Region Exits
The final layer of any clean over the hill find everything in an area sweep is verification. Before you roll through the portal, audit your pack, double-check the perimeter, and confirm the achievement tracker reads clean. Most misses happen in the last 60 seconds of a run when drivers rush the portal.
According to the Steam Community achievements statistics for the game, the global completion rates for each of the "find everything in an area" achievements can be tracked in real time, providing an authoritative overview of how many players have unlocked every collectible within each of the game's explorable zones.
Pack Audit
Open the pack screen at the portal and sort by collectible type. If any type is missing the expected count for the region, walk back along the perimeter trail at walking pace and listen for the audio anchors you missed on the spiral. The wind-chime of a nearby portal helps you triangulate, but the audio of a hidden stash (a low wooden creak) and a settled meteorite (a steady hum) are both detectable from 30 meters at walking speed.
Perimeter Double-Check
The perimeter double-check is the most valuable 90 seconds of the sweep. Walk the ridge trail you descended on the first pass, but in the opposite direction, because the new angle exposes crate silhouettes and supply cache fabric covers that were hidden by the slope on the descent. Community tracking suggests this single habit recovers 10% to 15% of missed collectibles per run.
Portal Crossing
Roll through the portal only after the pack audit and the perimeter check both pass. The Smooth Ride achievement (complete a trail without taking any damage) is independent of collectibles, but it pairs naturally with a careful sweep because the slower speed improves both the audio recognition window and the visual scan of the perimeter. A clean exit through the portal is the only way to bank the run, so treat the moment of crossing as a checkpoint rather than a finish line.
For broader coverage of the meteorite, crate, and portal mechanics, the over the hill all collectibles hub collects the per-region notes in one place and is a useful cross-reference while you sweep.
Frequently Asked Questions
How long does a single over the hill find everything in an area sweep take?
A single perimeter spiral typically takes 12 to 15 minutes for a standard region, and a double-pass run averages 22 to 28 minutes depending on the meteorite cycle timing. The closing loop adds 90 seconds but is the most reliable way to catch the crates you missed on the descent.
What is the fastest way to spot a meteorite before it lands?
Watch for the thin white smoke trail against the sky, then cut the engine for half a second to isolate the low rumble that signals impact 8 to 12 seconds later. The smoke trail is visible from roughly 400 meters in clear weather, which gives you a wide reaction window if you are already on a ridge.
Do portals respawn collectibles if I leave and re-enter?
Portals themselves do not respawn, but the regional meteorite cycle does, and re-entering the region resets the cycle to its earliest point. Most players use a double-pass sweep to catch a fresh meteorite cycle on the second pass through the same perimeter spiral.
Should I prioritize crates or meteorites during a sweep?
Meteorites always out-value crates because the in-flight window is short and the audio cue is unmistakable, while crates are common enough to pick up on the closing loop. A reliable rule is to stop for any in-flight meteorite, any supply cache, and any cluster of three or more wooden crates.
What audio cues help me triangulate a hidden stash?
Hidden stashes emit a low wooden creak that is most audible at walking speed, and the creak is masked by engine noise above 40 km/h. Cut the throttle when you cross a mid-slope band and the creak will pin to a 30-meter radius, which is enough to walk the last stretch on foot.